.png)
.png)

 3249
3249
Often times, a business will set up Group Items in QuickBooks Desktop (QBDT) to simplify the data entry for multiple Items that are frequently sold together. This enables the person creating the form to enter the name of the Group Item and allow QB to fill in the details for all the Items in that Group.
This article explains how to import Group Items in QBDT using Rightworks Transaction Pro Importer.
Below are some rules to help pre-plan a Group Item import:
- All items in the Group Item must exist in QBDT pre-import. Please note that an Item List import type can be used to create new Items, if necessary, prior to importing the Group Items.
- A Group Item name cannot be used that is already being used as an Item name.
- The import file should be ordered by the Group Name. For instance, all the Items in one Group should appear sequentially in the import file.
On the first screen of Importer, select the import file, select ITEM GROUP as the import type, and then select the NEXT button.

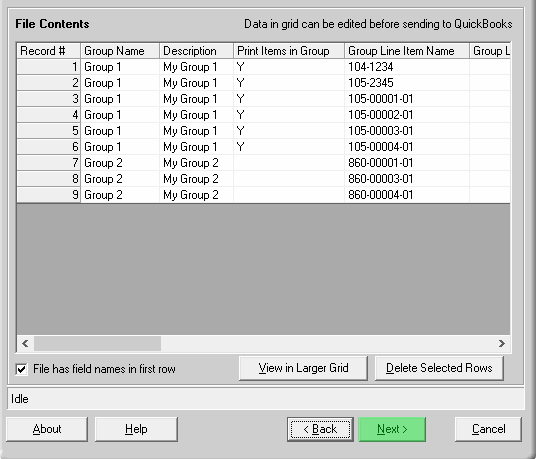
The File Contents screen displays the contents of the import file in a grid format. Review the data and once done, select the NEXT button.
On the mapping screen, the required fields will be highlighted in red: Group Name, Group Line Item Name, and Group Line Item Qty. Map the import file columns to the appropriate QUICKBOOKS FIELDS. Once the mapping is completed, select the SAVE AS button and save the map. Click NEXT to continue.

The next screen below depicts how the data will be matched to the various QB fields. Review and select the NEXT button.

On the last screen of Importer, this screen must be completed even if Importer will not be creating new Items. Make any selection and then select the FINISH button to begin the import.


